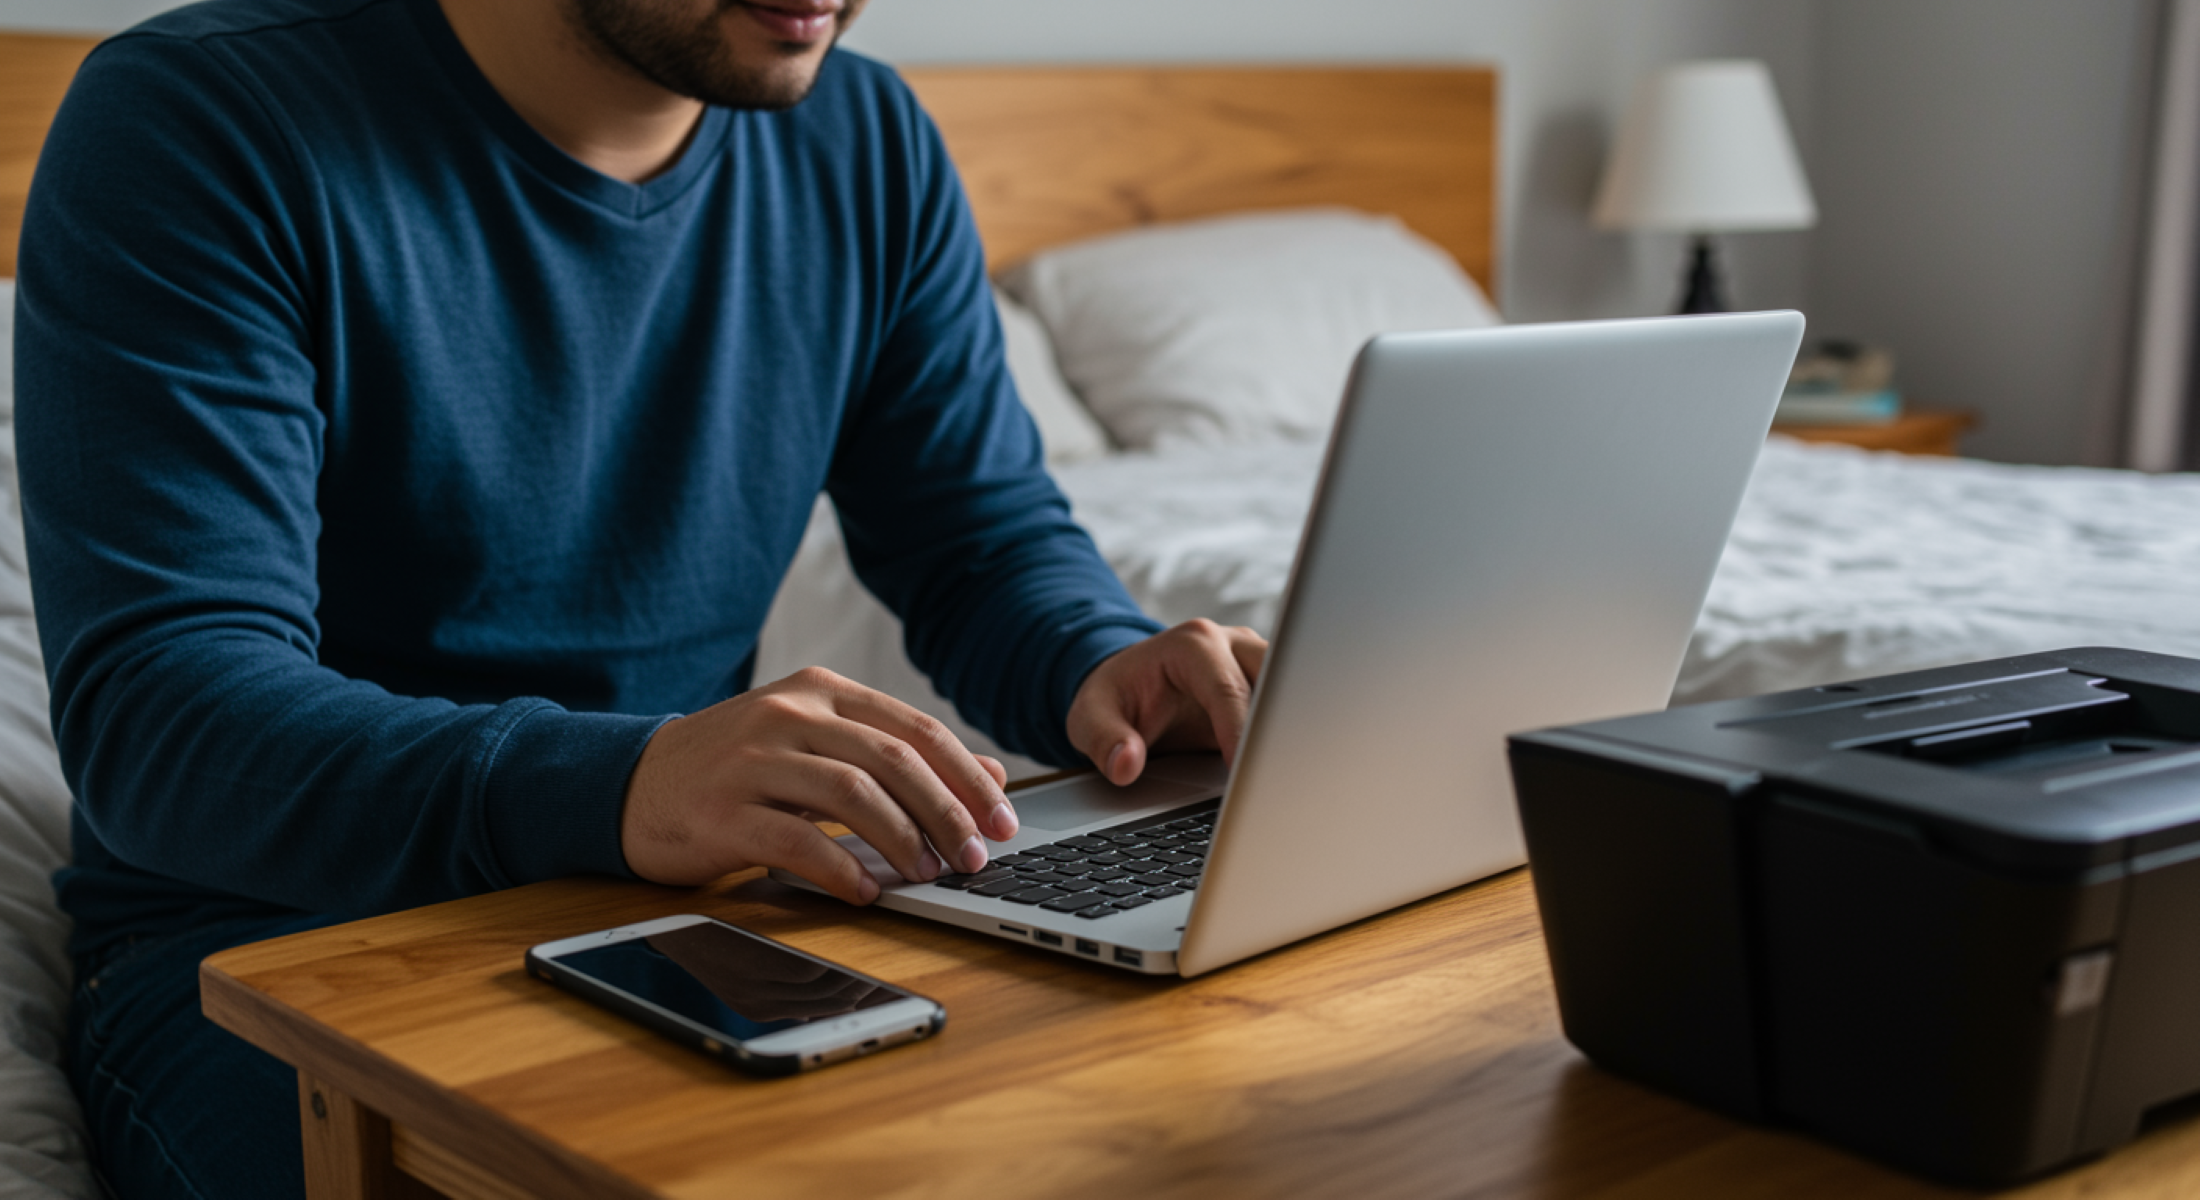
Taking a passport photo at home might sound daunting at first, but with a little preparation and the right equipment, it’s completely doable. Whether you’re applying for a passport for the first time, renewing your current one, or just need a quick photo for a visa or ID, taking your own passport photo can save you both time and money. Let’s walk through the steps of how you can take a passport photo at home that meets the official requirements, ensuring you avoid the hassle of retakes or rejections.
Understanding Passport Photo Requirements
Before you start taking your passport photo, it’s important to understand the official requirements. Passport photo rules are strict and even small mistakes can lead to delays in your application process. Whether you’re getting a passport for the first time or renewing one, adhering to these guidelines will save you time and prevent any unnecessary complications.
The size of your passport photo is one of the most important aspects. It must be exactly 2×2 inches (51×51 mm). Anything outside of this standard size may cause your application to be rejected. In addition to the size, the background needs to be plain and white or off-white, with no patterns, textures, or objects that could distract from your face. A cluttered background or anything that might obscure the clarity of your face can result in your photo being rejected.
Another critical factor is lighting. The photo must be evenly lit, with no shadows cast on your face or the background. Harsh lighting or uneven lighting that creates shadows on your face or behind you will not meet the requirements. Your expression is equally important – you should have a neutral look, meaning no smiling or frowning. Keeping a natural expression ensures that your face is captured accurately and clearly for identification purposes.
Finally, your head should be centered in the frame, and it should be a full view from your chin to the top of your head. The clothing you wear should be everyday attire, avoiding any uniforms or camouflage. Also, glasses are not allowed unless medically necessary. If you do wear glasses, ensure there’s no glare or reflections in the lenses that would obscure your eyes, as it’s important for your face to be fully visible.
Gathering the Necessary Tools
Taking a high-quality passport photo at home doesn’t require expensive equipment. With a few common tools, you can easily capture a photo that meets all the required standards. Here’s what you need:
- A Digital Camera or Smartphone
- Smartphone: Modern smartphones have high-quality cameras that can easily capture a passport photo. Ensure that your camera has a resolution of at least 12 MP.
- Digital Camera: If you prefer using a digital camera, choose one with a similar resolution (12 MP or higher). Remember to use the self-timer or a tripod for stability if you’re taking the photo alone.
- A Tripod or Camera Stand
- A tripod will help keep your camera steady and ensure that it is positioned correctly at the right height. If you don’t have a tripod, you can improvise by stacking books or using a sturdy surface to hold your camera in place.
- Good Lighting
- Lighting is crucial to avoid shadows and ensure your face is clearly visible. Natural light works well, but if you are indoors, use lamps to create even lighting. Avoid direct light, as it can cast harsh shadows on your face.
- A Plain, White Background
- Find a space with a plain white or off-white wall. If you don’t have a white wall, you can use a white sheet, poster board, or backdrop stand to create the necessary background for your photo.
- A Mirror (Optional)
- A mirror helps you position yourself properly before taking the photo. It can also be useful for checking that you’re centered in the frame and that the shot aligns with the camera’s view.
Step-by-Step Guide to Taking Your Passport Photo
| Step | Action | Tips | Equipment Needed | What to Look For |
| Set Up Your Background | Ensure the background is plain white, with no distractions or patterns. | If using a sheet, make sure it’s smooth and wrinkle-free for a clean look. | White wall, sheet, poster board | The background should be completely clear and uniform without any shadows or clutter. The plain white or off-white background is crucial for passport standards. |
| Choose Your Lighting Setup | Position yourself near natural light or use lamps on both sides. | Avoid direct lighting on your face. Ensure soft, even lighting. | Natural light, lamps | Make sure there are no harsh shadows on your face or the background, and your face is lit evenly from both sides. |
| Position the Camera | Place the camera at eye level to capture your face directly. | Use landscape mode on your phone for a better perspective. | Camera or smartphone | The camera should be centered at eye level, facing you directly without tilting up or down. |
| Check Your Head Position | Keep your shoulders relaxed and your head centered facing the camera. | Your face should occupy 70-80% of the frame, from the top of your hair to chin. | No head coverings or props | Your head should be fully visible, with a clear view from the chin to the top of the head. Make sure you’re centered in the frame. |
| Take the Photo | Maintain a neutral expression and look directly at the camera. | Hold still for a few seconds to prevent camera shake. Avoid smiling. | Camera or smartphone, timer | Ensure your face is clearly visible with no glare or reflections. Eyes should be fully open and focused on the camera. |
| Review and Adjust | Take a few test shots and check for clarity. | Adjust lighting or camera angle if necessary, and retake the shot. | Camera or smartphone | Double-check for sharpness, proper lighting, and your face visibility. Ensure no shadows or distractions are present. |
Editing Your Passport Photo
After capturing your passport photo, the next step is to ensure it meets all the official requirements. Editing your photo is often necessary to adjust for size, clarity, and lighting to make sure it’s acceptable for passport submission. It’s important to follow the guidelines closely while making minimal adjustments to avoid over-editing.
The first step in editing is cropping and resizing the photo to the required dimensions of 2×2 inches (51×51 mm). This ensures your face is centered in the frame, with equal space around your head and shoulders. You’ll also want to check the file size and ensure it meets the passport photo requirements, which are usually under 240 KB. This will help prevent your photo from being rejected due to size issues.
If your photo looks too dark or too bright, adjust the brightness and contrast to make your facial features more visible. Be careful not to over-edit, as this can distort the image and make you appear unnatural. The goal is to enhance the photo while still keeping it true to your real appearance. Subtle adjustments can make a significant difference in improving the clarity and quality of the photo.
Finally, it’s important to check for any red-eye effects, which can be fixed using the red-eye removal tool in most photo-editing software. Additionally, ensure there are no visible shadows on your face or in the background. While you can use editing tools to remove minor shadows, avoid excessive editing that could change your appearance. The photo should reflect your natural look, with no distractions or alterations that could compromise the integrity of the image.
Printing Your Passport Photo
Now that your passport photo is ready, it’s time to print it. Here’s how you can print your photo to the correct size:
- Print on Glossy Photo Paper
- Use high-quality glossy photo paper for the best results. You can find printable photo paper at most office supply stores.
- Use a Photo Printer or Local Printing Service
- If you have a good photo printer at home, you can print the photo yourself. Otherwise, many local photo printing services can print your passport photo to the correct specifications for a small fee.
- Double-Check the Dimensions
- Before submitting your photo, measure it to make sure it’s 2×2 inches. Passport authorities are very strict about dimensions, so ensure the size is accurate.
Common Mistakes to Avoid
| Mistake | What to Avoid | Why It’s a Problem | How to Fix It | What You Need |
| Wrong Lighting | Strong shadows or overexposure. | Shadows and bright spots can obscure facial features, leading to rejection. | Use soft, even lighting from both sides of your face. | Natural light, lamps for even coverage. |
| Incorrect Background | Colored or cluttered backgrounds. | Passport photos require a plain, white background for official use. | Choose a clean, white wall or use a white sheet as a backdrop. | Plain white wall, sheet, or poster board. |
| Improper Head Position | Head tilted or not centered. | Misaligned heads can make the photo unacceptable, resulting in a delay. | Ensure your head is straight and centered in the frame. | Camera positioned at eye level. |
| Too Much Editing | Over-retouching, using filters, or heavy adjustments. | Excessive editing can alter your appearance and violate passport photo guidelines. | Keep the photo natural without altering your features. | Editing software for basic adjustments. |
Using Passport Photo Apps
If you prefer a simpler, more streamlined approach to creating your passport photo, there are several apps available that can handle the entire process for you. These passport photo apps are designed to help you capture, crop, and resize your photo to meet official standards, without the need for complex editing software. Apps like PassportPhoto Maker and IDPhotoStudio are popular choices for creating passport photos.
These apps often come with built-in templates and guides that walk you through the necessary steps, ensuring you follow the required specifications. They take the guesswork out of the process, offering a convenient solution for those who may not be familiar with photo editing techniques. Whether you need to adjust the size, crop the image, or adjust the background, these apps make the job much easier.
One of the key benefits of using these apps is their ability to save time. Many of them let you print your photos directly from the app, or send them to a local photo lab for professional printing. This eliminates the need for you to manually print the photos yourself or visit a photo studio, saving you both time and effort.
Overall, using passport photo apps can be a great option for anyone who wants to create a passport photo without dealing with complicated editing software. With a few simple steps, these apps allow you to produce a photo that meets all the official requirements, ensuring your passport application process goes smoothly.
When to Use a Professional Service
While taking a passport photo at home is often convenient, there are times when it’s better to leave it to the professionals. Here are situations when you might want to consider using a professional service:
- Difficulty Meeting Requirements
- If you’re unsure whether your photo meets the necessary specifications, such as the background, lighting, or head position, a professional service can ensure compliance.
- Quality Concerns
- If you’re not confident about the quality of your photo, such as clarity or resolution, a professional service can provide high-quality, well-lit, and properly sized images.
- Lack of Proper Equipment
- If you don’t have access to the right equipment, such as a high-quality camera, tripod, or lighting, a professional service will have the necessary tools to capture the perfect shot.
- Time Constraints
- If you’re in a hurry and don’t have time to take multiple shots and make adjustments, a professional service can produce your passport photo quickly and efficiently.
- Avoiding Mistakes
- If you want to avoid common mistakes like improper head position or incorrect photo dimensions, using a professional service can give you peace of mind that your photo will be accepted without issues.
Tips for Ensuring a Perfect Passport Photo
| Step | What You Need to Do | Common Issues to Avoid | Tips for Success | What You Need |
| Set Up Your Background | Use a plain white or off-white background. | Avoid patterned, colored, or cluttered backgrounds. | Ensure there are no distractions in the background. | White wall, sheet, or backdrop stand. |
| Adjust Your Lighting | Ensure even, soft lighting without shadows. | Don’t use harsh or direct lighting, which causes shadows. | Natural light is ideal, but lamps can help create even coverage. | Natural light or lamps for soft lighting. |
| Position the Camera | Position the camera at eye level, facing directly at you. | Don’t angle the camera upward or downward. | Keep the camera steady for a sharp photo. | Camera or smartphone with a stable setup. |
| Check Your Head Position | Keep your head straight and centered in the frame. | Avoid tilting your head or not being in the center. | Make sure your face occupies 70-80% of the photo. | Camera adjusted to eye level. |
| Review and Edit the Photo | Crop the image to 2×2 inches and adjust lighting if necessary. | Don’t over-edit, as this can distort your appearance. | Check for shadows and remove them if needed. | Photo editing software or apps. |
Why Accuracy in Your Passport Photo Matters
When taking your passport photo at home, it’s crucial to follow the exact guidelines provided by passport authorities. A photo that doesn’t meet the required standards can result in delays or rejections. Passport photos need to be precise in terms of size, background, and facial expression. Passport control agencies are strict about these specifications because they are used for identification purposes, ensuring consistency in their records.
One common issue people face when taking their passport photo at home is incorrect lighting. Shadows or overexposure can distort your features, making the photo unacceptable. Even lighting ensures that your face is clearly visible and your features are properly defined. Therefore, positioning yourself near natural light or using proper lamps for even coverage is essential to achieving a high-quality shot.
Another factor to keep in mind is the background. A cluttered or colored background can result in a rejection of your photo. Passport guidelines mandate a plain white or off-white background to avoid any distractions from your face. This is why it’s a good idea to use a simple, clean wall or backdrop when setting up for your photo. The simplicity of the background ensures that the focus remains solely on your face.
Finally, head positioning is vital. Your head should be straight and centered in the frame. An off-center head or a tilted angle can lead to an inaccurate portrayal of your facial features, which can lead to the rejection of your photo. It’s important to follow these guidelines carefully, as they ensure your passport photo meets all the specifications required for official identification.